
DIY Confetti Manicure That Looks Cute, Fun, and Way Harder Than It Is

A confetti manicure immediately lifts your mood with its bright, joyful energy.
It looks bold and fun, but it’s actually much easier to do than it seems. If you want a really cute nail look that’s simple and doesn’t need pro skills, this is one of the easiest styles to try at home.
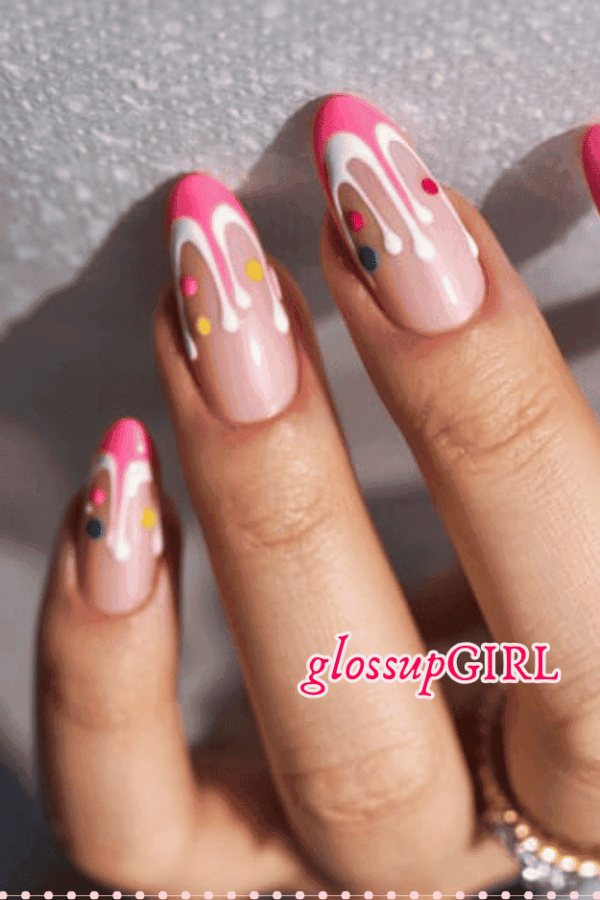
A confetti manicure starts with a simple base color and adds bright, colorful pieces on top for a fun, party-ready look.
It’s creative and stylish, and you don’t need perfect lines or a steady hand, so it’s ideal for beginners.
Why does this nail look so good

Some nail designs look great but are difficult to do yourself. This one is different. A confetti manicure looks best when it’s a little random, which gives it its cute charm.
It’s about showing off your own style—perfection isn’t needed. Just have fun and let your creativity shine.
It’s incredibly customizable. Make it vibrant and striking with a range of colors, or opt for a delicate touch with a sheer base.
You can make the whole look your own. Go bold with many colors, or keep it soft with a sheer base and small accents.
Choose the look that suits your mood, whether you want something bright and festive or simple and minimal.
SIMILAR > The Best Winter Nail Design Ideas You Have to Try This Season
What supplies will you need?
For a fabulous manicure at home, like the confetti nails, you will need:
- Small, colorful glitter or confetti-style polish
- A clear topcoat
- A toothpick, dotting tool, or tweezers, if you like, to help place pieces.
- Nail polish remover for cleanup
That’s it. No lamp, no acrylic, and no complicated salon setup are needed.
Pick the right base color.
To achieve a gorgeous confetti manicure, begin with a base shade that lets these bright colors shine.
Soft pink, milky white, pale peach, light beige, and sheer nude are all fabulous choices that complement each other beautifully. These shades elevate the confetti, making sure your nails stand out without drowning out the look.
For a fun look, try pastel blue, lavender, or buttery yellow.
If you want something more subtle, go with a creamy nude or soft blush.
SIMILAR > Summer Nail Design Ideas to Inspire Your Next Manicure
How to do a confetti manicure at home

STEP 1 – Start with clean nails.
This is more important than you might think. If there’s old polish, oil, or lotion left, your manicure won’t last as long.
STEP 2 – Wipe your nails, shape them, and push back your cuticles for a neat base.
STEP 3 – Next, apply a base coat. This helps protect your nails and gives the polish something to grip onto. Then paint on your base color. Usually, two thin coats work best. Try not to glob it on. Thin coats dry better and look smoother.
STEP 4—When your base is almost dry, add the confetti.
STEP 5 – Apply chunky glitter polish by dabbing rather than brushing. Dabbing lets you place the pieces where you want them, instead of moving them around too much.
PRO TIP: If you are using loose glitter or little confetti pieces, use a toothpick or tweezers to place them one by one. This sounds annoying, but it is actually pretty easy once you get going. And since the look is meant to be random, there is no pressure.
STEP 6 – After adding the confetti, seal your nails with a clear topcoat. If the confetti sticks up, add a second layer. This smooths the surface and helps your manicure last longer.
READ THIS > 25 Butterfly Nail Designs to Bring Flight to Your Fingertips
The trick that makes it look better
Keep it sleek and simple with your nails.
This is where some people miss the mark. A few vibrant pieces look stylish and purposeful. Having too many can quickly create chaos. Allow the base color to shine.
That balance is what gives the manicure that chic, effortless vibe, rather than making it look like a home manicure gone sideways.
Leave some space between the confetti pieces—this helps your design look better.
Easy ways to alter the vibe
This manicure is all about making it distinctly yours with effortless style.
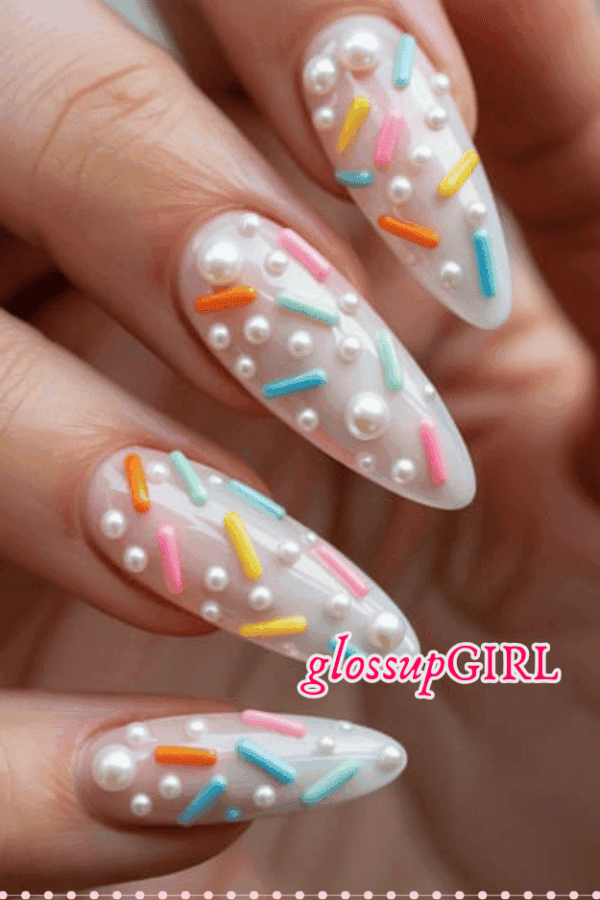
For a fresh, polished look, opt for a sheer pink base and add a touch of tiny pastel confetti to one or two nails.
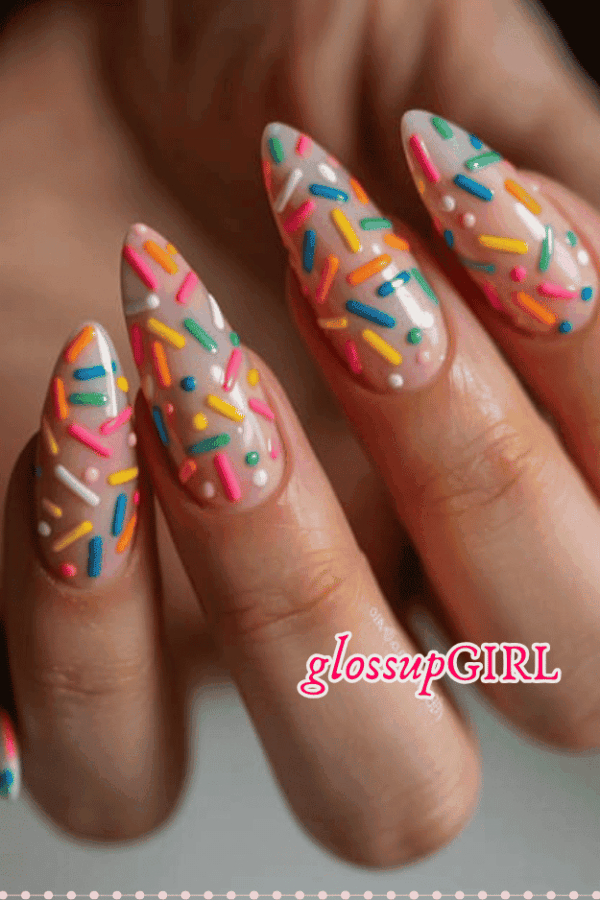
For a bright birthday party look, go all out with bright multicolor designs on each nail and finish with a glossy top coat.
Combine vibrant dots and playful shapes with a soft white base to create a fresh spring or summer look.
For a modern look, use a nude base with black, white, and metallic confetti. This version looks fresh and stylish without much effort.

Why you would actually love this one
This look gives off effortless confidence. It’s fun, a bit creative, and relaxed—not excessively formal or overdone.
It goes perfectly with stacked rings, messy buns, iced coffee, hoodies, and all your favorite everyday things.
And since it’s not too serious, this manicure feels easy to try.
You don’t have to worry about small mistakes. You’re making something adorable, and that’s the whole point.
To make your confetti manicure last, a few simple habits can really help:
- Opt for sleek, lightweight coats to ensure they dry efficiently.
- Seal the tip of your nail with top coat to ensure those edges stay flawless and chip-free.
- Apply an additional layer of top coat a day or two later for that extra shine you deserve.
- Be careful not to use your nails as tools; doing so can cause unnecessary damage.
Let your nails dry longer than you think you need to. It might sound basic, but it really helps keep your manicure looking excellent.
RELATED: 22 Cutest Pumpkin Nail Designs You Have to See!

Here’s to you and your confetti nails!!
A DIY confetti manicure is a fun and easy way to make your nails look adorable at home.
You don’t need salon skills or many products. It’s a creative, stress-free way to try something new.
If you want to try something fun and pretty that’s easy to do, this DIY nail technique is a great choice.
These nails are like a small celebration, and that’s always a good thing.

READ THIS > 26 Spring Nail Designs You Have to SEE

GLOSSUPGIRL is your one-stop blog for gorgeous fashion and beauty ideas that are trending online. Get your daily dose of GLOSSUPGIRL today!
- The Night Routine That Will Change Your Life From Drab to Amazing - June 1, 2026
- How To Have A Unique Festival Hairstyle Like No One Else - May 31, 2026
- Tiny Tattoos That Are Small But So Pretty - May 20, 2026